

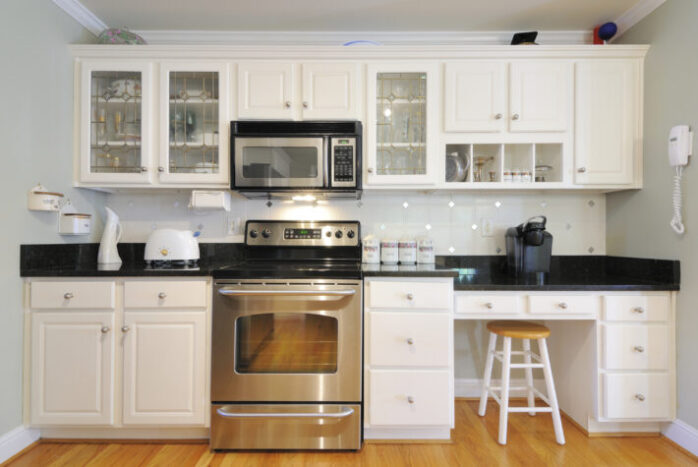
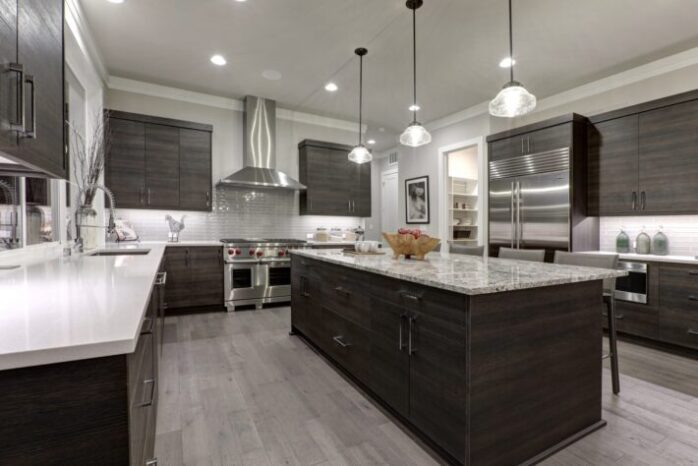
Changing the scenery in our homes is something that most of us feel we need to do once in a while. At times you might regret your decorating choice from the last time, or maybe you just want to turn the page in your life and you feel that changing your home environment should be the first step.
While some of the changes are super easy to make and pretty much inexpensive (wall painting, for example), the others like redecorating your kitchen could be way more difficult, time-consuming, and above all – pricey. Many of us will look for some more affordable ways to refresh the living area – and repairing kitchen doors by wrapping might be a good start.
1. Use vinyl for wrapping
Vinyl-wrapping your kitchen doors is definitely one of the cheapest options you can bump into, although it’s often criticized due to peeling issues that inevitably arise. While it’s probably the best option if you’re struggling with your budget, it might not be the best option for kitchens that are directly subjected to heat or moisture on a daily basis.
In case you decide to give this option a go, you should be cautious about how you position your kettles and other home appliances so that moisture doesn’t get in direct contact with your doors. Although the sprayed ones might look more ‘fancy’, an imitation wood effect or patterned vinyl would also be a nice way to make your door look like you’ve just bought them.
Another important benefit of using vinyl is that you won’t have any trouble cleaning and maintaining this kind of material, as they can have a super cool polished look with only a few wipes here and there.
2. Wrap with Fablon
Here’s another handy and low-priced idea for renewing this type of surface. Have you ever thought about using Fablon for wrapping your doors? You can save a ton of money by opting for this kind of plastic. Not only is this solution economical, but it’s also rather easy to implement it – all you need besides Fablon is a cleaning cloth, a screwdriver, and a scalpel.
Make sure you remove all the dirt and grease, then fold over the edges with Fablon, simply tie all the corners and set it. You’ll be impressed with the results, especially with so little effort!
3. Use grooves
Wrapping your kitchen doors with grooves might need a little more investment in tools, but this method proved to be lasting longer than most methods you could think about.
This doesn’t mean, however, that the procedure has to be more complicated. All you need is a few tools that are usually a little bit pricey: an application tool, a scalpel, a heat gun, and a silicone gun.
You’ll also need three-layer aluminum panels. Just wrap a full panel board and make sure to cover the back as well in order to tidy up the edges. After you’re done, the entrance to your kitchen will obtain that classy and modern look and give a completely new charm to space.
4. Apply sticky back plastic
Sticky back plastic is perfect for giving the furniture in your apartment a new dimension and changing their tedious look. Instead of replacing your cabinets – which might require a little more cash from your pocket – you can save quite a lot by using this form of wrapping. As it’s also water and heat resistant – you can use it outdoors for any other DIY project if you want.
It’s easy to apply and remove, and with a wide range of available designs and colors it’s the perfect finishing touch to your kitchen. Online retailers such as Wrapzone boast countless variations of these affordable, but super practical materials.
When it comes to the project itself, all you’ll need to make it happen are a few basic tools like a screwdriver, scissors, pencil, and tape measure. First, you need to carefully remove the doors and clean the surface thoroughly, as this will ensure that the film sticks to it properly. Then peel away a small piece of backing paper and stick the film to the surface. All that remains is to gradually remove the rest of the backing paper carefully, smoothing it out on the sides.
The best part of all this is that, if you suddenly make a mistake, you can simply remove it completely and start from scratch. No stains, no regrets – hang the doors back again after that and admire your work!
5. Dry method
This is another budget-friendly method for giving a new shine to your kitchen doors, as it barely requires any investment. It’s true that the most important thing you’ll need for this is a credit card – and no, don’t worry, you don’t need to pay for anything.
For this craft, the credit card needs to be wrapped in a piece of cloth. You’ll also need a needle and a hairdryer, as both will be helpful when dealing with boring bubbles that won’t go away. Start slowly by unrolling your roll of sticky back plastic and undoing a little bit of the top. Place the sticky side down onto a surface, then use a credit card in a cloth to push out bubbles if there are any. If there is a bubble that resists going away, just pierce the whole area with a needle and flatten it. Finally, a hairdryer will shrink the wrap a little bit and finalize the process.
6. Wet method
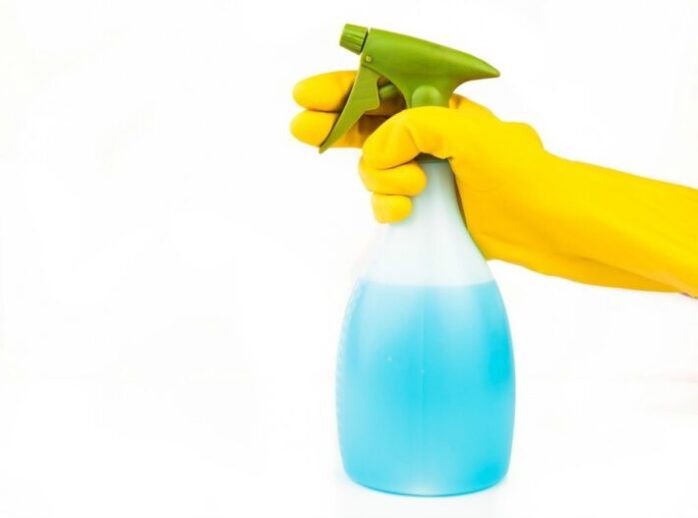
For this method, you need to use a spray bottle with a soapy water solution. This will stop the sticky back plastic from sticking onto a surface and allow you to place it where it’s supposed to be placed. Use a shower squeegee to remove all the water that you spray onto a surface, and finally, wipe all excess liquid with a tea towel. Any bubbles remained? Again, like while applying the dry method, poke them quickly with the needle and voila! You’re all done – and you’ll be amazed by the amazing results you achieved with your own two hands!


