

Everyone has been in a situation where they have difficulty solving a certain problem. Whether it is a problem in the domain of science, a mathematical question or it relates to everyday life.
Even when multiple people face the same issue each will come up with a unique solution. Everyone copes with difficulty in their own way. However, that doesn’t mean that there are no tricks that, no matter what type of person you belong to or what type of problem you are solving, can help you in this process.
The power of creating diagrams
One of the best ways to pinpoint problems accurately and is through diagrams. Diagrams can really help you in your private and professional life.
From a large number of different technical drawings, we point out the flow diagram, which is the simplest one even if you are new to such processes. They are presented step by step, very easy to understand and give a perfect sequence of steps in solving problems. They began to be used back in 1921, when the American Society of Mechanical Engineers, headed by engineer Frank Gilbert, introduced the concept of the “process chart”.
What is a flow chart and how it works?
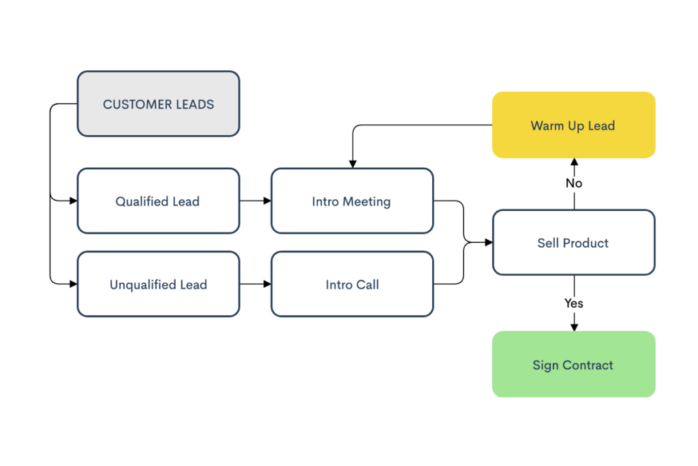
To better understand the flow chart, let’s get acquainted with its basic elements and functions. Each flow diagram begins and ends with symbolically elongated circles. So, the beginning and the final part of the whole process are written in them. There are also rectangles in which instructions and guidelines are written that should be followed when solving problems.
Places that require you to make a decision are specially marked. Such places are usually marked in the form of a diamond. To this, we will add parallelograms that contain the resources that need to be invested, services, or people. These are the basic symbols used in the flowchart. Of course, they don’t have to be the only ones. You can use many other symbols, just make sure they are understandable to those who will be familiar with the flow chart. It is, after all, a form of information transfer, not art. For all the information about flowcharts you can click here.
When it comes to the functions and benefits of this type of diagram, it is important to know that you can use it to define the process of solving a particular problem; this process can be standardized through such diagrams, but also improve the communication process.
Through the diagram you can identify bottlenecks or unnecessary steps in this process; it is much simpler and clearer to get an insight into solving the problem step by step; regardless of whether a specific problem is being solved or represented by a particular process, it can be improved by using these diagrams. If you are engaged in production, this technical drawing can help you to consistently adhere to the standard in quality and control.
If you are dealing with human resources in a particular company, then they can help you show more clearly who employees should contact concerning a particular problem they have. It is ideal for new members of the team to fit into the team or for those who have a problem with setting priorities to better organize the work process.
To show all this in practice, you need to follow the following 3 steps and make your flow chart:
1. Identify the problem/task

List all the problems or tasks that are expected of you to solve, not in any way, but chronological order. So first you write the highest priority task and then you ask the following questions: “what should be next in the process”; “Before I move on to the next step or next task, what do I need to do or what approvals do I need?”
During the formation of this diagram, you need to keep in mind that it will be shown to your team and created so that it is accurate and understandable for everyone.
2. Start drawing
Once you have successfully answered the previous questions, it is time to start drawing. The elongated circle represents the beginning of the flow diagram, so stick to the first. After the start, outline the steps that need to be taken as well as the decisions that need to be made. To make the illustration as clear as possible, link the actions with arrows to follow the process. For each decision, write all possible solutions. When you get to the very end, we end up in an elongated circle again, as a symbol to complete the whole process.
3. Try the diagram

When you think you’re done all over, it’s time to go back to the beginning and check everything out. Follow the diagram and arrows you just printed. This is the perfect time to see if there is a surplus of activity, a detour, or maybe you have skipped something. If everything turns out perfectly, great, it’s time to show it to your colleagues.
These 3 steps really don’t look complicated. Most people use a roll to draw this diagram, which is totally ok. However, remember that we live in the field of advanced technology and technology, and make it easier for yourself by using a software application to print flowcharts. They are much clearer, and simpler and make your flow of thought.
The simplicity of the flow diagram makes the process of solving a particular task or problem as simple as possible. The whole process is documented and very one hour for information transfer. This way, it is more likely that the whole process will be completely clear to each team member, and there is no room for doubts and wrong turns.
Another huge advantage of this diagram is that its clear and precise presentation unequivocally indicates the time frame of the whole process, and it is easier to follow. The activities set up in this way will give you an insight into who should be included in the given process, as well as who should be appointed as the manager of certain phases.
It is built step by step, so you will not miss even the smallest details that you need to take into account. You will have the whole course of the process on just one piece of paper, and that is exactly what will allow you to see the bigger picture and make key decisions. Don’t think further, but get to work and see how it all works firsthand.


