

Muscle recovery is a crucial aspect of any fitness routine. Whether you’re an avid athlete, a fitness enthusiast, or simply enjoy staying active, allowing your muscles to recover properly is essential for maintaining performance, preventing injuries, and achieving your fitness goals. One effective and accessible tool for muscle recovery is the foam roller. Foam rolling, also known as self-myofascial release, has gained popularity in recent years due to its ability to alleviate muscle tension and improve flexibility.
In this comprehensive guide, we will explore how to use a foam roller effectively to aid in muscle recovery and optimise your overall fitness journey.
1. Understanding Foam Rolling: What is it?
A foam roller is a cylindrical piece of foam typically ranging from six to thirty-six inches in length and two to six inches in diameter. You can find foam rollers on Amazon. It acts as a self-massage tool to apply pressure to specific areas of your body, targeting muscle knots, trigger points, and tight fascia. The process of foam rolling is known as self-myofascial release, where pressure is applied to these areas to help release tension and improve blood flow to the muscles.
Fascia is a connective tissue that surrounds and supports muscles, bones, and organs. When it becomes tight or restricted due to overuse, improper movement, or injury, it can lead to decreased range of motion, discomfort, and reduced athletic performance. Foam rolling can help break up these adhesions and promote better mobility and flexibility.
2. Benefits of Foam Rolling for Muscle Recovery
Using a foam roller as part of your muscle recovery routine offers numerous benefits, including:
- Muscle Tension Relief: Foam rolling helps release muscle tension, reducing soreness and discomfort after intense workouts.
- Improved Circulation: Applying pressure to the muscles enhances blood flow, which aids in nutrient delivery and waste removal, thus facilitating faster recovery.
- Enhanced Range of Motion: By breaking up fascial adhesions, foam rolling can improve joint mobility and overall flexibility.
- Reduced Risk of Injury: Regular foam rolling can help prevent injuries by addressing imbalances and muscle tightness that may lead to strain or overuse.
- Stress Relief: Foam rolling has a calming effect on the nervous system, promoting relaxation and reducing stress levels.
3. Types of Foam Rollers
Before diving into how to use a foam roller, let’s discuss the different types available:
- Standard Foam Roller: This is the most common type of foam roller, made of dense foam and suitable for beginners or individuals with average muscle density.
- Textured Foam Roller: Textured foam rollers have ridges, bumps, or grids on their surface. These provide a deeper massage and are ideal for experienced users or those with denser muscle tissue.
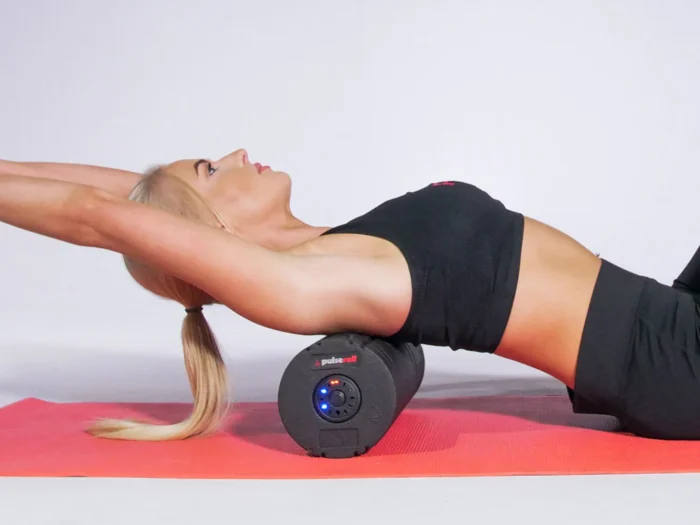
- Vibrating Foam Roller: These foam rollers come with a built-in vibration feature, which can further enhance muscle recovery and relaxation.
- Half Foam Roller: Half foam rollers are flat on one side and rounded on the other. They are versatile and can be used for various exercises and stretching in addition to self-myofascial release.
4. How to Use a Foam Roller for Muscle Recovery
Now that you have a basic understanding of foam rolling and its benefits, let’s explore how to use a foam roller effectively for muscle recovery:
- Start Slowly: If you’re new to foam rolling, start with a standard foam roller and take it slow. Apply gentle pressure on the targeted muscle group and gradually increase the intensity as you get used to the sensation.
- Target Major Muscle Groups: Focus on major muscle groups like the calves, quadriceps, hamstrings, glutes, back, and chest. These areas tend to accumulate more tension and benefit greatly from foam rolling.
- Roll Slowly: When using the foam roller, roll back and forth slowly over the targeted area. Avoid rolling too fast, as it may not effectively release tension.
- Spend Time on Trigger Points: When you encounter a tender spot or a trigger point (a tight knot in the muscle), spend extra time on that area. Apply gentle, sustained pressure on the trigger point to encourage release.
- Breathe and Relax: Take deep breaths and try to relax while foam rolling. Tensing up can inhibit the release of tension in the muscles.
- Avoid Rolling Directly Over Joints or Bones: Focus on the muscles surrounding the joints, avoiding direct pressure on the bones.
- Customize Your Routine: Tailor your foam rolling routine to your specific needs. You may need to spend more time on certain areas or incorporate additional stretches or exercises.
- Foam Roll After Your Workouts: Foam rolling after your workouts can help reduce post-exercise muscle soreness and promote faster recovery.
5. Foam Rolling Techniques for Key Muscle Groups
- Calves:
Sit on the floor with your legs extended, placing the foam roller under your calves.
Place your hands on the floor behind you for support.
Roll from the ankles to just below the knee, targeting any tight spots.
- Quadriceps:
Lie facedown on the floor with the foam roller under your thighs.
Support your upper body with your forearms.
Roll from just above the knee to your hip, focusing on the front of your thighs.
- Hamstrings:
To foam roll your hamstrings sit on the foam roller with your legs straight and your hands on the floor behind you.
Roll from just below the glutes to just above the knees, targeting the back of your thighs.
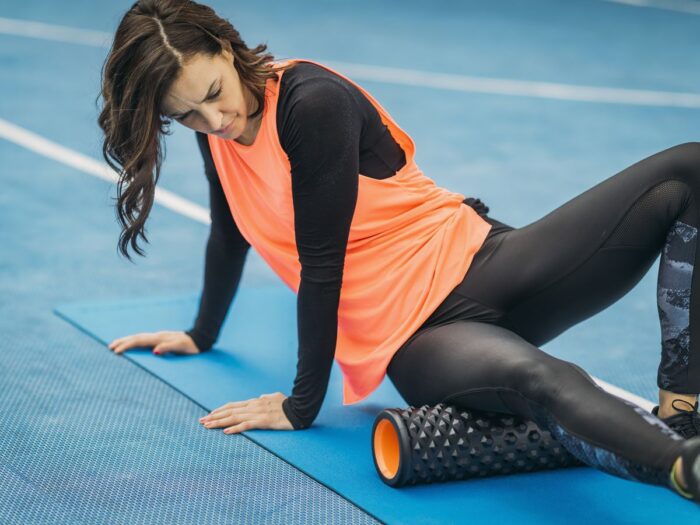
- Glutes:
Sit on the foam roller with your knees bent and feet flat on the floor.
Cross one leg over the other and lean to one side, placing the majority of your weight on the glute of the crossed leg.
Roll back and forth over the glute, targeting any tight areas.
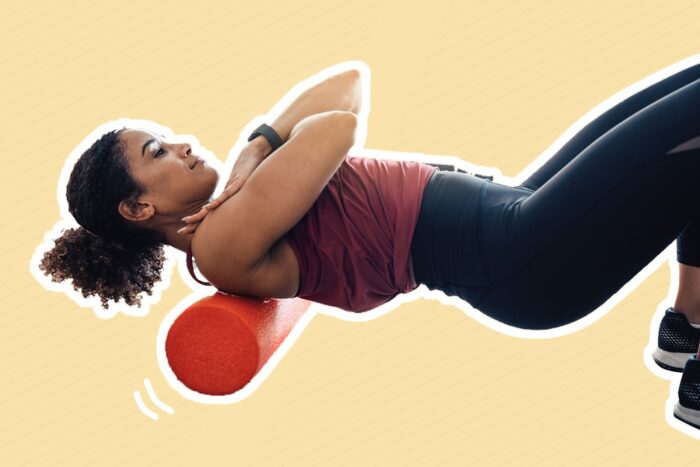
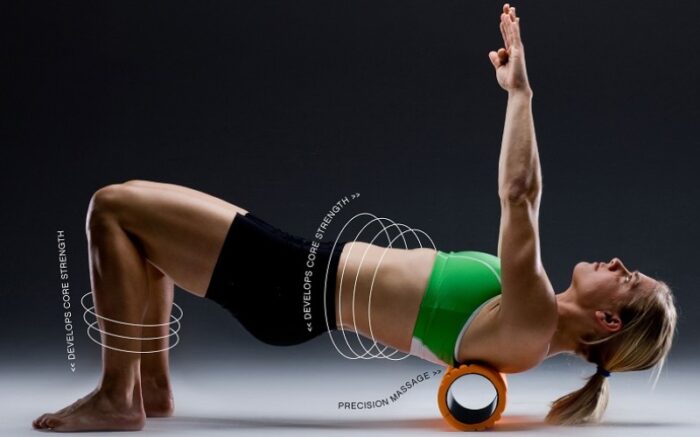
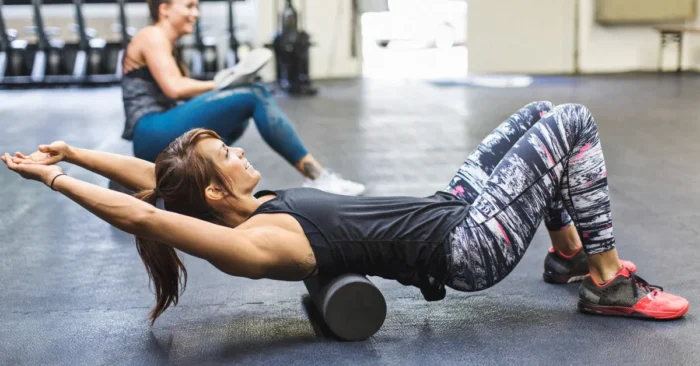
- Back:
Lie with your back on the foam roller, knees bent, and feet flat on the floor.
Cross your arms over your chest or place them behind your head.
Roll from the base of your spine to the bottom of your shoulder blades, focusing on the muscles beside your spine.
- Chest:
Lie face down on the floor with the foam roller under one side of your chest.
Extend your arm to the side or bring it across your body to target different areas of the chest.
Roll back and forth, covering the entire chest area.
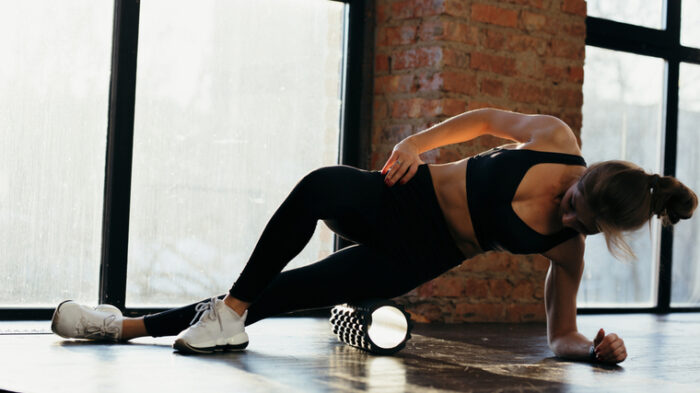
- IT Band:
Lie on your side with the foam roller under the outside of your thigh.
Support your upper body with your forearm or hand.
Roll from just above the knee to the hip, focusing on the side of your thigh.
- Lats:
Lie on your side with the foam roller under your armpit and the arm extended above your head.
Support your upper body with your forearm or hand.
Roll from just below the armpit to the lower ribs, targeting the side of your back.
6. Precautions and Tips
While foam rolling can be highly beneficial, there are some precautions to keep in mind:
- Avoid Rolling on Injured Areas: If you have an acute injury or are recovering from a recent injury, avoid foam rolling directly on the affected area. Instead, focus on surrounding muscles to improve blood flow and support the recovery process.
- Don’t Foam Roll Lower Back: Avoid foam rolling directly on your lower back, as this area is sensitive and the pressure from the foam roller may cause discomfort or injury. Instead, focus on the muscles surrounding the lower back, such as the glutes and hip flexors, to alleviate tension and support the lumbar region.
- Gradually Increase Pressure: When starting with foam rolling, apply gentle pressure and gradually increase the intensity as your muscles become more accustomed to the technique. Excessive pressure can cause pain and bruising, so listen to your body and adjust accordingly.
- Stay Hydrated: Foam rolling can release toxins and waste products from your muscles, so it’s essential to stay hydrated to aid in their elimination. Drink plenty of water before and after foam rolling sessions.
- Foam Roll Regularly: Consistency is key when it comes to foam rolling. Incorporate foam rolling into your post-workout routine or as a stand-alone recovery session several times a week for best results.
- Use Controlled Movements: Avoid rolling too quickly or with jerky movements. Keep your movements controlled and deliberate to effectively target and release tension in the muscles.
- Combine with Stretching: For enhanced muscle recovery and flexibility, combine foam rolling with static stretching. After foam rolling a specific muscle group, perform stretches targeting the same area to further increase range of motion.
- Listen to Your Body: Foam rolling should never be excessively painful. While some discomfort is normal, sharp or intense pain may indicate an injury or an area that needs professional attention. If you experience severe pain during foam rolling, stop immediately and seek advice from a qualified healthcare professional.
7. Foam Rolling Routine: A Comprehensive Guide
A well-rounded foam rolling routine can target key muscle groups, helping to release tension and promote muscle recovery. Below is a comprehensive foam rolling routine that covers major muscle groups in your body:
- Calves:
Sit on the floor with your legs extended.
Place the foam roller under your calves.
Support your upper body with your hands behind you.
Roll from just above the ankles to just below the knees.
Spend extra time on tight or tender spots.
- Quadriceps:
Lie facedown on the floor with the foam roller under your thighs.
Support your upper body with your forearms.
Roll from just above the knees to your hip.
Focus on the front of your thighs.
- Hamstrings:
Sit on the foam roller with your legs straight and hands behind you for support.
Roll from just below the glutes to just above the knees.
Concentrate on the back of your thighs.
- Glutes:
To foam roll your glutes sit on the foam roller with your knees bent and feet flat on the floor.
Cross one leg over the other and lean to one side.
Roll back and forth over the glute of the crossed leg.
Switch legs and repeat.
- Back:
Lie with your back on the foam roller, knees bent, and feet flat on the floor.
Cross your arms over your chest or place them behind your head.
Roll from the base of your spine to the bottom of your shoulder blades.
Focus on the muscles beside your spine.
- Chest:
Lie face down on the floor with the foam roller under one side of your chest.
Extend your arm to the side or bring it across your body to target different areas of the chest.
Roll back and forth, covering the entire chest area.
Switch sides and repeat.
- IT Band:
Lie on your side with the foam roller under the outside of your thigh.
Support your upper body with your forearm or hand.
Roll from just above the knee to the hip.
Focus on the side of your thigh.
- Lats:
Lie on your side with the foam roller under your armpit and the arm extended above your head.
Support your upper body with your forearm or hand.
Roll from just below the armpit to the lower ribs.
Target the side of your back.
- Upper Back:
Sit on the floor with the foam roller behind you.
Lean back, placing the foam roller between your shoulder blades.
Support your head with your hands, but avoid putting pressure on your neck.
Roll up and down, targeting the upper back muscles.
- Quads and Hip Flexors:
Lie face down on the floor with the foam roller under your thighs.
Support your upper body with your forearms.
Roll from just above the knees to the hip, targeting the front of your thighs and hip flexors.
- Shoulders:
Sit on the floor with your knees bent and the foam roller behind you.
Lean back, placing the foam roller between your shoulder blades.
Cross your arms over your chest or clasp your hands behind your head.
Roll up and down, focusing on the shoulder muscles.
8. Foam Rolling Post-Workout Routine
Incorporate foam rolling into your post-workout routine for enhanced muscle recovery. After completing your exercise session, follow this foam rolling sequence to target key muscle groups:
- Calves – 1 minute per leg
- Quadriceps – 1 minute per leg
- Hamstrings – 1 minute per leg
- Glutes – 1 minute per leg
- IT Band – 1 minute per leg
- Upper Back – 1 minute
- Chest – 1 minute
- Lats – 1 minute per side
- Quads and Hip Flexors – 1 minute per side
- Shoulders – 1 minute
9. Conclusion: Embrace the Power of Foam Rolling for Optimal Muscle Recovery

Foam rolling is a highly effective and accessible tool for aiding muscle recovery, reducing tension, and promoting flexibility. By incorporating foam rolling into your fitness routine, you can enhance your overall athletic performance, prevent injuries, and achieve your fitness goals more effectively.
Remember to start slowly, gradually increase the intensity, and target major muscle groups in your foam rolling sessions. Be consistent with your foam rolling routine, and combine it with stretching and proper hydration for maximum benefits.
Lastly, always listen to your body. If you experience severe pain or discomfort during foam rolling, seek advice from a qualified healthcare professional. With regular foam rolling, you can optimize your muscle recovery and take your fitness journey to new heights. Embrace the power of foam rolling and enjoy the rewards of a healthier, more mobile, and energized body.


