

Simply put, it’s the magic you sprinkle on your images to make them look impeccable. Think of it as makeup for your photos, but not too much – just enough to enhance their natural beauty.
Retouching vs Editing: Is There a Difference?
Absolutely! While both aim to perfect a photo, retouching is about correcting imperfections (like blemishes or unwanted objects), and editing is more about changing the overall vibe (like filters or color balances).
Diving Into Photoshop’s Arsenal
So, you’ve taken a leap into the boundless world of Photoshop, and now you want to perfect those stunning shots of yours?
Kick-off with the Basics, Shall We?
Before you get too deep into Photoshop’s vast ocean of tools, it’s pivotal to get familiar with a few foundational ones. These basic tools form the backbone of your retouching journey, ensuring that you have a solid foundation to build upon.
Making a Duplicate Layer
Every Photoshop wizard will tell you this golden rule: always work on a duplicate layer. Creating a duplicate layer allows you to make changes without affecting the original image.
Think of it like having a protective shield; if you mess up, your original image remains untouched. You can always delete or hide the duplicate layer and start over. To make one, simply right-click on your main layer and select “Duplicate”.
Oops, Made a Mistake? Just Undo It!
Remember, it’s perfectly okay to make mistakes. That’s how we learn! In Photoshop, you’re only a couple of clicks away from rectifying your errors.
The shortcut Ctrl+Z (or Cmd+Z on Mac) is your quick ticket to undo an action. If you need to undo multiple steps, the History panel is your time machine, taking you back to any previous state of your image.
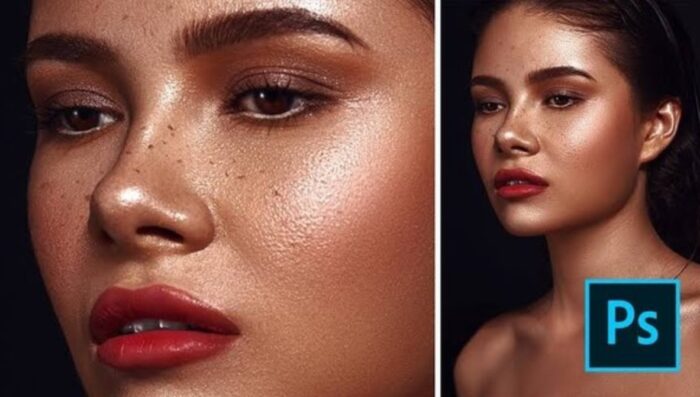
Spot Healing Brush & Healing Brush
These tools are essentially your digital erasers. Got a pimple ruining that perfect selfie? Or perhaps an unwanted object in a serene landscape? Use the Spot Healing Brush for quick fixes; it automatically samples from around the area to replace the imperfection.
The Healing Brush, on the other hand, lets you choose your sample point, giving you more control over the final result. A gentle hand and zooming in for precision will yield the best results.
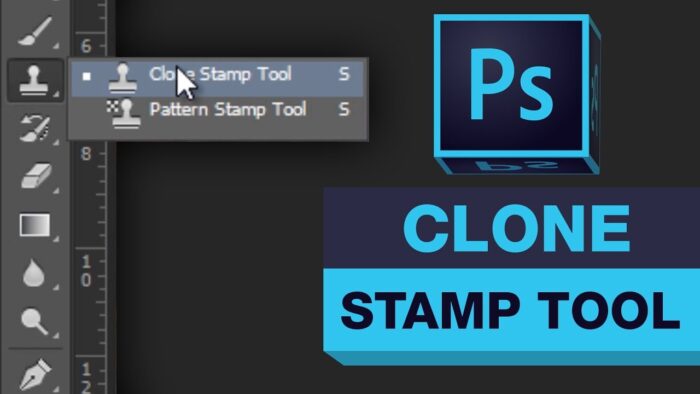
The Magnificent Clone Stamp Tool
The Clone Stamp Tool is like having a magic duplicator. Imagine you’re at a beach, and there’s an unsightly trash can ruining your shot. With the Clone Stamp, you can replace that trash can with sand or waves, making it disappear!
Simply sample a ‘clean’ part of the image and then paint over the unwanted part. Keep varying your sample points to maintain a natural look.
The Handy Patch Tool
It’s similar to the healing brushes but operates more like a combination of them and the Clone Stamp. You select the imperfection using the Patch Tool and then drag it to an area you want to sample from.
It’s particularly useful when you need to replace larger areas or when dealing with trickier imperfections. Remember, the key is choosing a sample area that matches in tone and texture.

Some Bonus Wisdom for You!
Once you’re done, don’t forget to flatten and save your image. This ensures all your hard work gets stored properly.
Be mindful that flattening your image effectively creates one single layer from all your layers, so only flatten your image once you have completed all your touching up.
Up for Some Advanced Tips?
Polishing Your Retouching Skills
Starting with Quality
The canvas you start with can make or break your final result. Just like you wouldn’t paint a masterpiece on crumpled paper, you shouldn’t start retouching a low-quality photo.
A high-resolution image captures more details, making it easier to work on and ensuring that your edits look natural. Furthermore, proper lighting can significantly reduce the amount of work needed. It helps to accentuate features and diminishes imperfections.
Always remember: a well-lit, high-resolution image is half the battle won in the world of retouching.
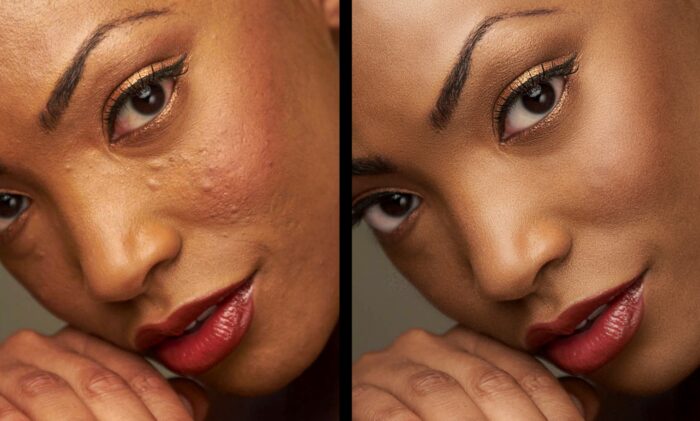
Retouching Isn’t Just for Faces
While portrait retouching often focuses on facial features, a truly polished photo considers every detail.
Stray hairs, clothing wrinkles, and background elements can distract from the subject. Ever noticed how a wrinkled shirt can draw your attention away from a face? Or how a stray trash can in the background can ruin a beautiful scenic shot? These seemingly minor elements can drastically affect the overall feel of the image.
By addressing these details, you ensure your subject shines without any distractions.
Learn, Learn, and Learn Some More
Retouching is an art, and like any artist, you should always be honing your craft. Adobe Photoshop is a vast tool with endless possibilities, and the techniques available for retouching are continually evolving. By diving into tutorials, joining online forums, and watching expert-led videos, you can pick up new methods and tricks that can elevate your retouching game.
But remember, no amount of theoretical knowledge can replace hands-on practice. Every photo you work on, every mistake you make, and every hour you spend experimenting in Photoshop brings you one step closer to mastering the art of retouching.
It’s an exhilarating journey filled with continuous learning and creativity. Enjoy every moment of it!
Amping Up Your Images: Quick Editing Enhancements
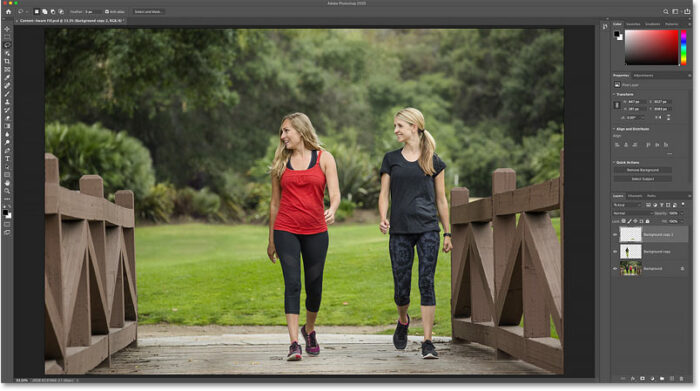
Content-Aware Fill
Have you ever wished you could magically fill in a part of your image with content that matches the surrounding area? Enter Content Aware Fill—a tool that’s nothing short of sorcery.
Say you’ve got a beautiful beach shot, but there’s an unwanted object or person in the scene. With Content-Aware Fill, you can easily remove them, and Photoshop will intelligently fill in the gap with sand and water, making it look like they were never there.
The trick lies in making a precise selection and letting the tool work its magic.
Liquify
Imagine being able to push, pull, twist, puff, or bloat any part of your image. The Liquify tool grants you this power. It’s particularly famous in portrait retouching, letting you subtly adjust the shape of hair, eyes, nose, or even the entire face.
However, a word of caution: with great power comes great responsibility. Overuse can make subjects look unnatural or distorted. So always approach with a gentle touch and an eye for realism.
Color Range
If you’ve ever struggled with selecting specific colors or tonal areas in an image, the Color Range tool is your perfect solution. It lets you select a particular color or a set of colors, making it easy to isolate areas for adjustments.
Whether you’re trying to change the hue of a sky or adjust the tone of a specific color on a piece of clothing, Color Range gives you that precision. Remember to play around with the fuzziness slider to refine your selections.
Combined, these tools can drastically improve the quality and aesthetics of your images. They offer more control, precision, and creativity, allowing even beginners to produce professional-quality edits.
In Conclusion…
Whether you’re brushing away tiny blemishes, refining a portrait, or bringing an old photograph back to life, the world of retouching in Photoshop is vast and fascinating. And the best part? The more you explore and practice, the better you’ll get.
Happy retouching!


